Map of geo-calculations
By default, geo-calculation is performed at the individual client level, which means that calculations are performed only using features and geo objects within that client. In order to carry out geo-calculation using objects of one client and geo-objects of another, you need to go to the “Clients” section and click on the button in the toolbar:
 - map of geo-calculations. When you click on the tool, the following window opens:
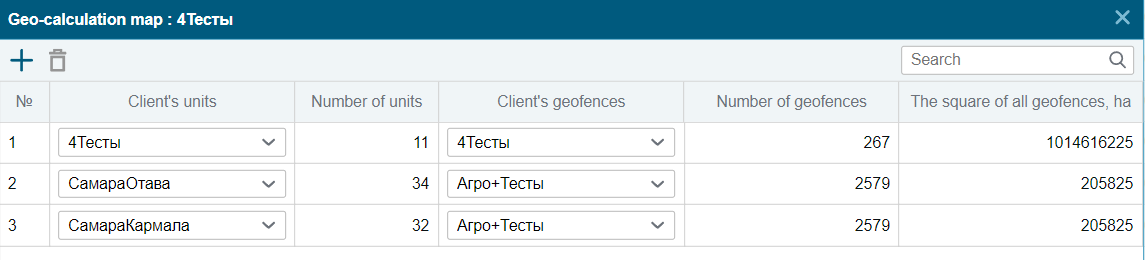
In this window, you configure the connection between visit calculations between Client Objects and Client Geofences.
There are two buttons on the toolbar: - Add - adds a new row to the table.
 - Delete - deletes the selected row(s) in the table.
 - the search is carried out by the name of the clients whose objects and geo-objects will be used for geo-calculation.
The table consists of columns:
- Client objects - field with a drop-down list. Select the client whose objects will be used for geo-calculation.
- Number of objects - displays the number of objects for the selected client.
- Client geofences - drop-down list field. Select the client whose geo objects will be used for geo-calculation.
- Number of geofences - displays the number of geofences for the selected client.
- Area of all geofences, hectares - displays the total area of all geofences of the client.
Features of displaying geofence visits
1. To record an object’s visit to a geofence, there must be at least 2 track points inside the geofence.
2.Visits that do not meet the general settings (in the "Geo objects" section) will not be displayed.
Learn more about the report " Report on visits to geo-objects"